National Tree Week gives us the opportunity to celebrate one of the stalwarts of the English outdoors; the tree. We may think that it simply provides a feature in the landscape or shade or shelter but there’s a whole lot more to trees that this set of activities will help your pupils discover.
Activity One: Tree Shake
Suitable for: Year 1 to Year 6
Learning Focus:
- Identify simply some of the inhabitants of trees
- Understand that many creatures rely on trees for their habitat
Ask the class what they think lives in a tree. The stock answers that many of you’ll find are birds and squirrels.
In this activity, the class will get to see many of the other creatures that live in a tree and get to identify which family they might be from by looking at their characteristics.
Find a tree in the school grounds or nearby and spread a light coloured sheet underneath it. Now, being careful not to cause damage, shake the tree vigorously – if it’s a small one, by the trunk, a larger one by a branch.
You’ll find that many insects will drop out of the tree onto the sheet from where the pupils can collect them using a pooter. If you are lucky to have pooters with built in magnifying glasses then the pupils can start noting colour, size and other features like wings, shells, number of legs etc, which should help them to identify whether it is a beetle, an aphid, a moth etc. If not, they’ll have to use a magnifying glass to investigate them. Ask the pupils to draw a picture of their creature together with a list of its characteristics ready for a wall display before setting the creature free.
Activity Two: Leaves in Close Up
Suitable for: Year 2 to Year 6
Learning Focus:
- Recognise the different basic leaf forms
- Be able to recognise and name the key parts of a leaf
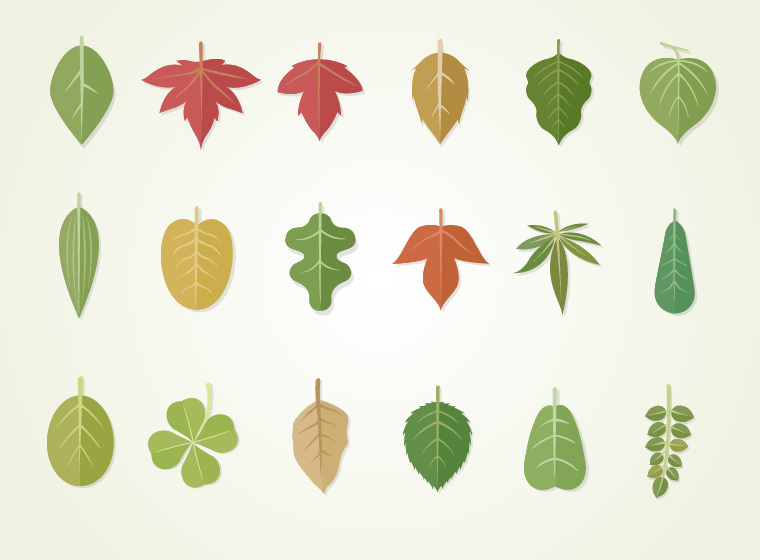
For this activity, you’ll need the pupils to collect some fresh leaves from a large leafed deciduous tree and study the surface of it carefully. With a good magnifying glass they should be able to identify leaf hairs, the stomata by which the tree breathes in carbon dioxide and transpires water and oxygen, the veins and ribs as well as noticing that the top of the leaf is different to the underside.
Rather than getting the pupils to investigate what each aspect is for, ask them to think why the leaf has these different features. The hairs are for protection and also to reduce water loss, the stomata, tiny holes on the surface of the leaf, are for CO2 collection and water loss, the ribs and veins are to keep the leaf rigid and to transport sap.
Ask them to draw a diagram of the leaf labelling the different parts then collect different leaves including those from evergreens and see whether they have the same features.
Activity Three: Trees as Homes
Suitable for: Year 2 to Year 6
Learning Focus:
- To understand that different orders of living things make trees their home
- To be able to complete a simple food chain of life in a tree
It’s not just insects that live in trees. If possible, take the class to a park where there are plenty of trees and do an observation of the birds and animals that they see in and around the trees. They should see many birds plus a mammal or two.
Back in class, discuss why birds live, or simply perch in trees and what other animals might live in a tree apart from squirrels. From the list of creatures and our bug hunt, ask the pupils to draw simple food chains that explain why so many creatures live in the trees.
As an extension activity, ask them to think of other countries and which animals might live in trees there. Answers could include leopards in Africa, koalas in Australia, monkeys in Asia and Africa and opossums in America. Ask them to find out why those animals live in trees – it’s not just for the food!
Activity Four: Tree Watch
Suitable for: Year R to Year 6
Learning Focus:
- To understand that many trees, especially deciduous ones undergo changes through the year
- To be able to describe what causes the changes to a tree through the year
This activity takes place over a long period and you might want to diarise it to make sure you carry out all the stages.
Take a photograph of a tree near your classroom – preferably deciduous, on a weekly basis. Use the photographs on a pictorial timeline around the class to identify the changes over the year. The week on week changes may not always be apparent but by arranging the photos in monthly rows, you should be able to see a dramatic change.
Use the pictures to ask the children what are the changes that they see and ask if they know what causes them. Give them the hint that it’s to do with the seasons and the changing temperature and hours of daylight.
As an extension, ask them if there is anything else the photographs can tell them – e.g. weather conditions, human activity near the trees etc.


